

• Plastic sheeting roll (recommmended: 6 mil clear)
• Stakes or sandbags (landscape pins are optimal)
• Liquid Soap (baby shampoo is optimal)
• Pool noodles for bumpers (optional)
• Sprinkler or hose
• Daring individuals
1. Find the ideal spot. Choose an area with soft grass, smooth earth and your preferred amount of incline (depending on how fast you want to slide). If you use a steep incline, be sure to create a safe landing area. If you have flat ground, you can use the 'run and jump' slide method, but be careful!
2. Prepare the area. Clear the area of any rocks, sticks or any other sharp objects that may puncture the plastic and/or cause injury.
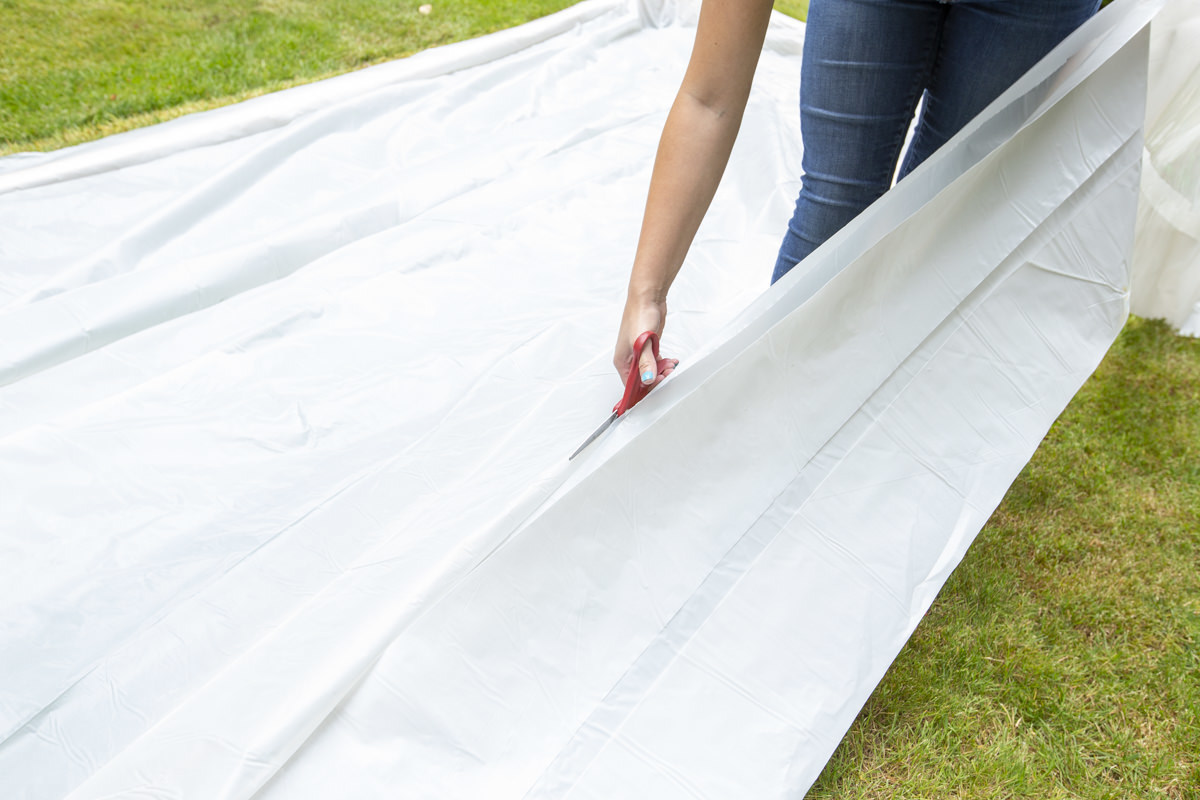
3. Create the slide. Roll out your visqueen plastic to form the body of the slip and slide. For a wider slide usable by everyone (kids AND adults) use a 8’ x 100’ roll in either 4 mil clear or 6 mil clear. 6 mil is recommended for durability, especially if you are planning on reusing the slide in the future. For a slide longer than 100 feet, go with a 10’ x 100’ or 12’ x 100’ roll and cut it in half length-wise. Then, using poly patch tape (duct tape will also work in a pinch), join the two pieces end to end for a 200ft. monster slide!

4. Anchor the slide in place. Secure your visqueen plastic in each corner (minimum) with either sand bags or stakes. If you are using pool noodles for bumpers, proceed to the next step, as you will do most of your anchoring after creating the bumpers. Longer slides or steep inclines may need additional anchors towards the middle of each end. (Be sure to press the stakes all the way into the ground or cover them with something soft; you don't want to leave something rough sticking up for someone to slide into.)
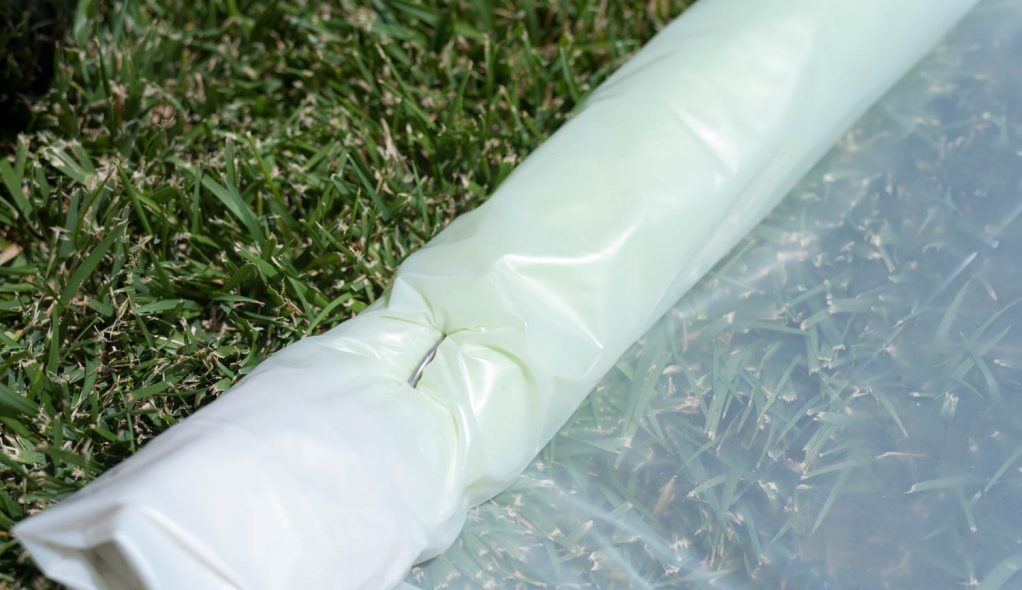
5. Padding for safety. Take a moment to review your slide. Are there any areas that seem potentially dangerous? If desired, roll pool noodles into the lengthwise edges of your slide and secure them with stakes (landscape pins work exceptionally well) to create 'bumpers' like a bowling lane along the edges of your slide. This will stop sliders from veering off the edge before they reach the end.

5. Bring on the water.Thoroughly wet the plastic slip and slide to ensure a slick surface. A lawn sprinkler in place next to the slide will help to keep the slide wet. To further reduce friction, apply a small amount of liquid soap to the slide and spread evenly. Dish soap is one option, however tearless baby shampoo is preferred when small children are using the slide. Re-apply both water and soap as necessary.
6. Get slidin'! You did it! Enjoy your new creation!